
Small Craft Corner Ideas For A Hobby Nook
Small craft corner ideas for a hobby nook start with one simple truth: a hobby needs a corner, not a room. One small table, supplies in baskets, a pegboard of tools on the wall and a warm lamp on the table — that is a craft corner, and it fits in the corner that holds nothing today. The most-saved corner formula on Pinterest is one job, one anchor piece and one light source, and a craft corner follows it exactly: one job (the hobby), one anchor (the table), one light source (the lamp at the work, not the ceiling). A fold-down table and a pegboard cost under $75 and take an afternoon to fit, and the corner is a corner again when the hobby rests.
The ten ideas below are ordered from the table to the five-minute reset that closes the evening. The frame to keep in mind is the one-job rule: the corner is a hobby zone, not a storage corner — one current project out, the rest stored, so the table holds only the work in hand.

Key Takeaways:
- A hobby needs a corner, not a room — one small table, supplies in baskets, a warm lamp at the work.
- One basket per supply (yarn in one, paints in one, tools in one) — nothing mixes, nothing gets lost.
- One current project out at a time — two projects out means nothing finishes.
- A fold-down table + pegboard costs under $75 and takes an afternoon; the corner is a corner again when the hobby rests.
Tip 1 — A small table that folds against the wall when the hobby rests
Choose a small table that folds against the wall when the hobby rests, so the corner is a corner again. A craft table that stands in the room all week, holding nothing, is a table the room has lost — and in a small home, a table that is only used twice a week should not take floor space seven days a week. A fold-down table, hinged to the wall, folds flat when the work is done and opens in seconds when the hobby calls, and the corner goes back to being a corner. The photo shows a small white table by a window with baskets and a dress form beside it — the fold-against-the-wall part is not shown, but the small table in the corner is the same idea.
A fold-down table folds to about four to six inches deep when closed, so it barely leaves the wall — less than a picture frame’s depth. Fix it at a height that suits sitting, with a stool that tucks fully under, and the corner works as a craft table by evening and as an empty corner by morning. One table, hinged to the wall, and the hobby has a home that disappears.

Tip 2 — One basket per supply: yarn in one, paints in one, tools in one
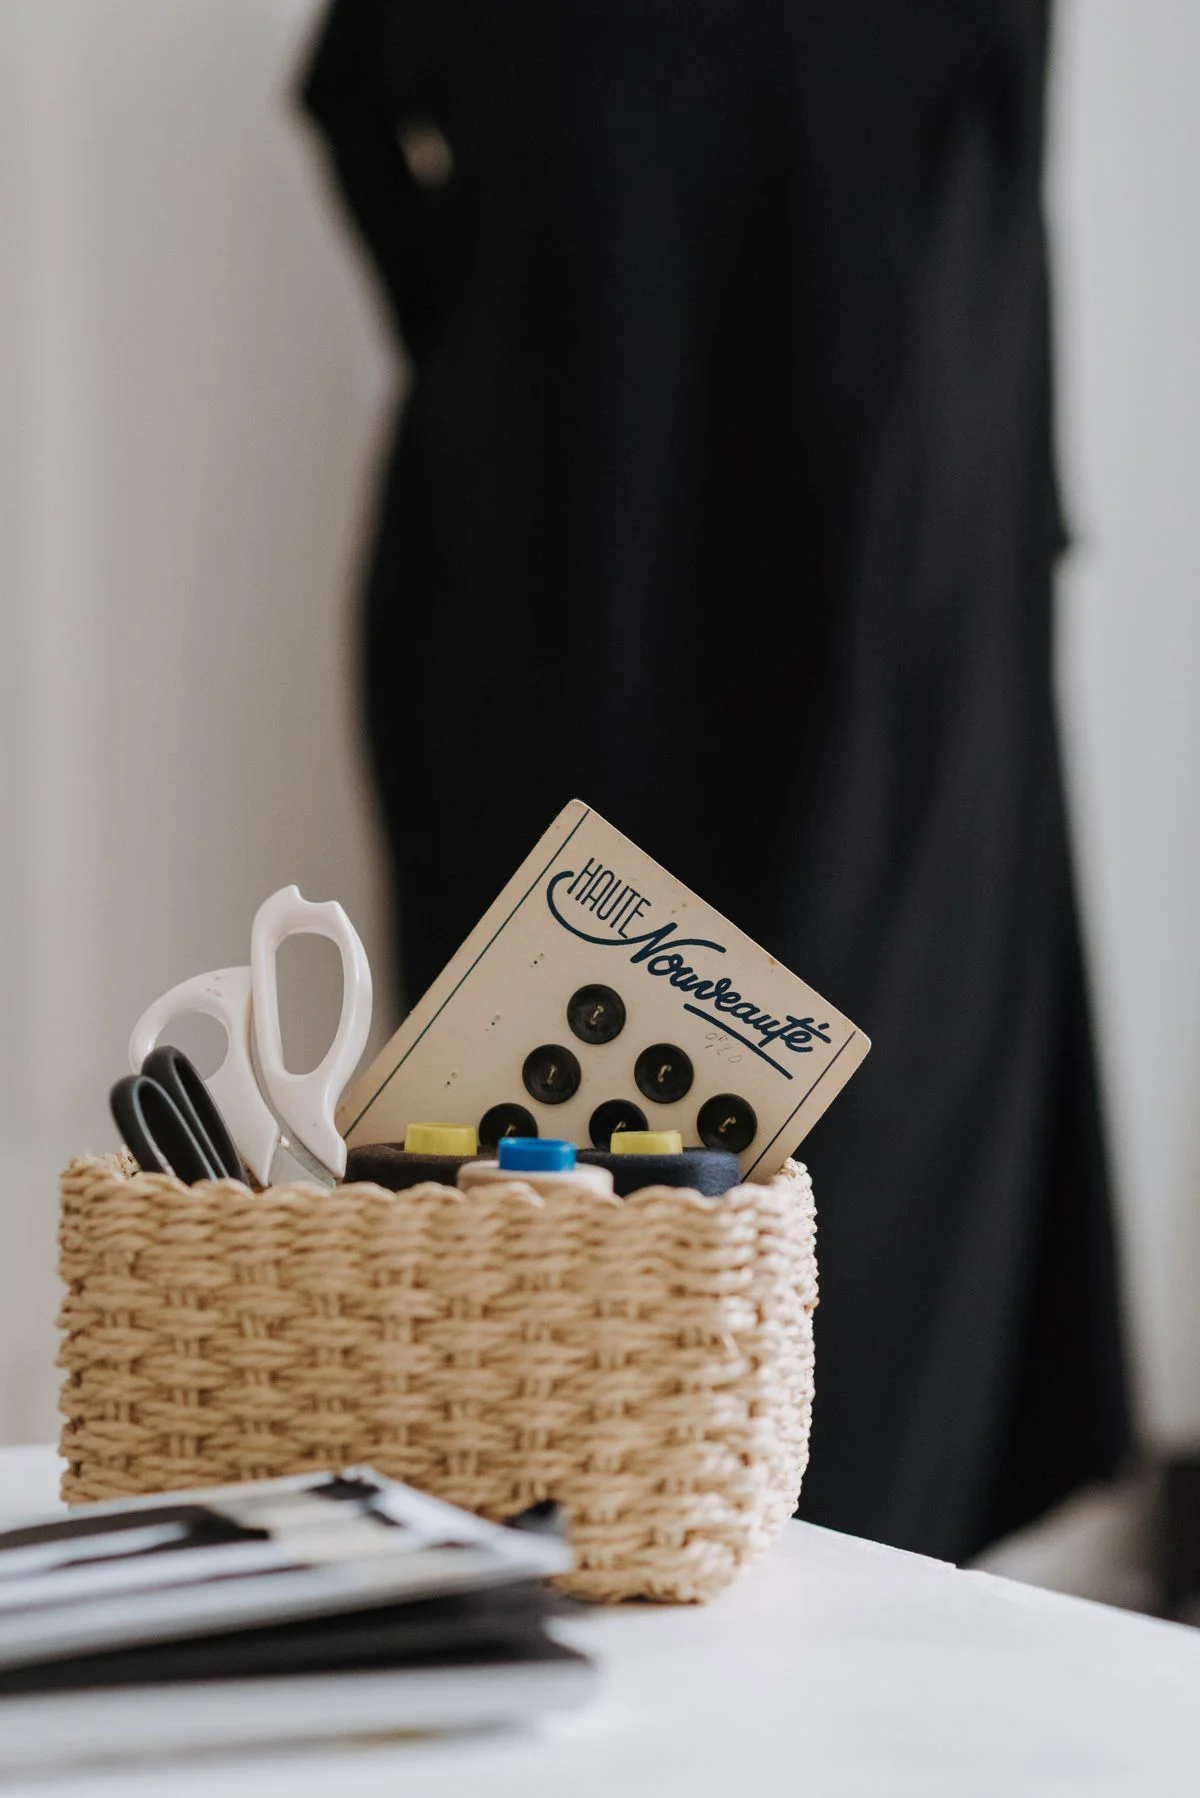
Keep one basket per supply — yarn in one, paints in one, tools in one — because nothing mixes and nothing gets lost. Craft supplies are the messiest things in a small home: yarn tangles with thread, paint tubes roll under the table, scissors hide under fabric, and a single mixed box becomes a drawer nobody wants to open. One basket per supply ends it: the yarn basket holds yarn, the paint basket holds paints, the tool basket holds tools, and a hand goes to the right basket without thinking. The photo shows a wicker basket holding scissors, thread spools and a button card on a white desk — one basket, one kind of supply, exactly as it should be.
Label each basket, even if the contents seem obvious, because a label is a promise that the basket holds only one thing — and a basket that holds only one thing never becomes a junk drawer. Keep the baskets on the shelf above the table or on the floor beside it, where a hand reaches them without standing up. One basket, one supply, and the corner stays a craft corner instead of a clutter corner. IKEA’s Storage & Organization range has the labelled baskets and pegboard hooks for a corner like this.
Tip 3 — A pegboard or hooks on the wall hold scissors and tools where hands can reach them
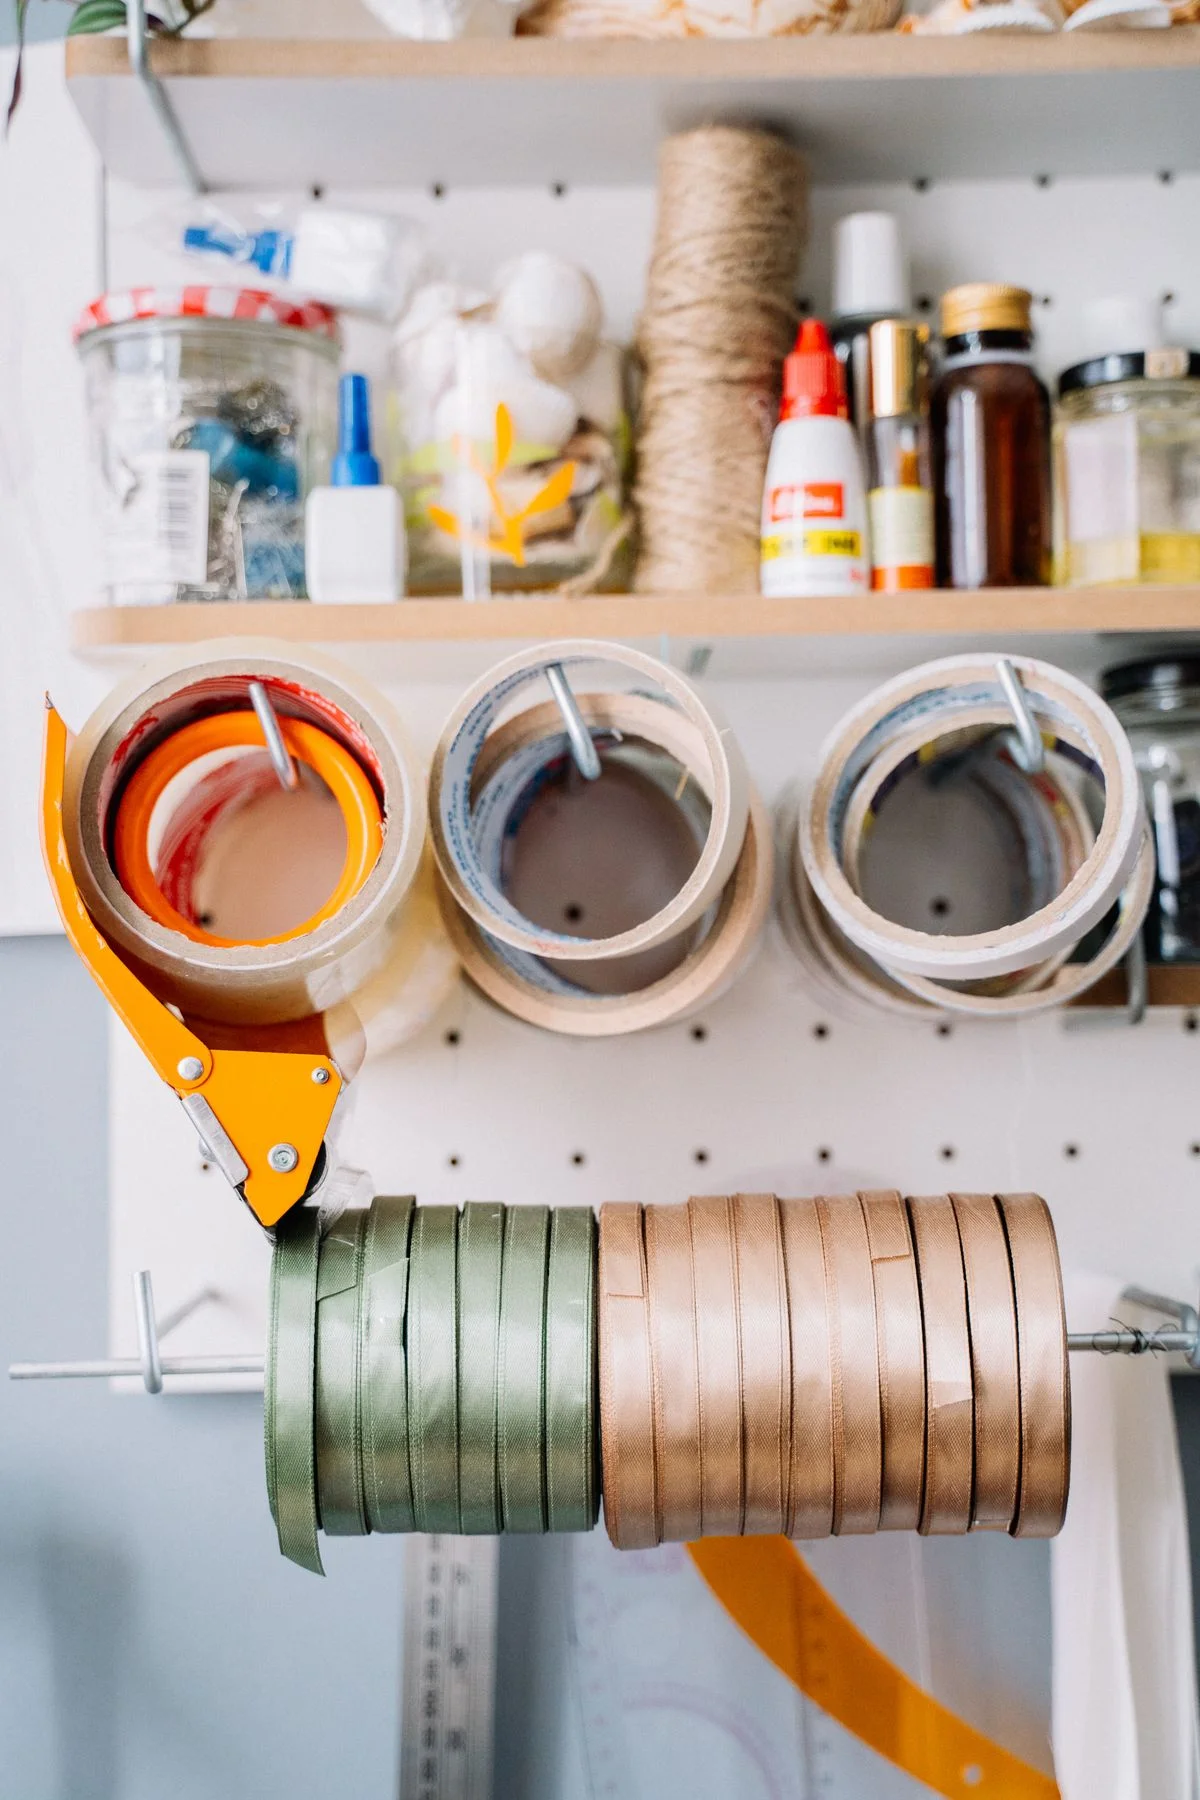
Put a pegboard or hooks on the wall, and scissors and tools hang where hands can reach them. The tools a crafter reaches for a dozen times an hour — scissors, tape, a ruler, a glue gun — should never live in a drawer, because a drawer is a place tools go to hide. A pegboard on the wall above the table holds them all in sight: scissors on a hook, tape on a dowel, ribbons on a rail, jars of buttons and beads on a small shelf — and the table stays clear for the work itself. The photo shows a pegboard wall with tape rolls, ribbons, glue and jars, tools on hooks within reach — the pegboard doing exactly this job.
Hang the pegboard at arm’s height above the table, so the tools are in reach from the stool without standing, and keep the most-used tools at the centre, where the hand falls naturally. If you rent, a pegboard on a freestanding frame, or adhesive hooks on the wall, gives the same result with no holes. One pegboard, on the wall, and the tools are always where the hands are.
Tip 4 — A warm lamp on the table, not an overhead: evening crafting needs light at the work
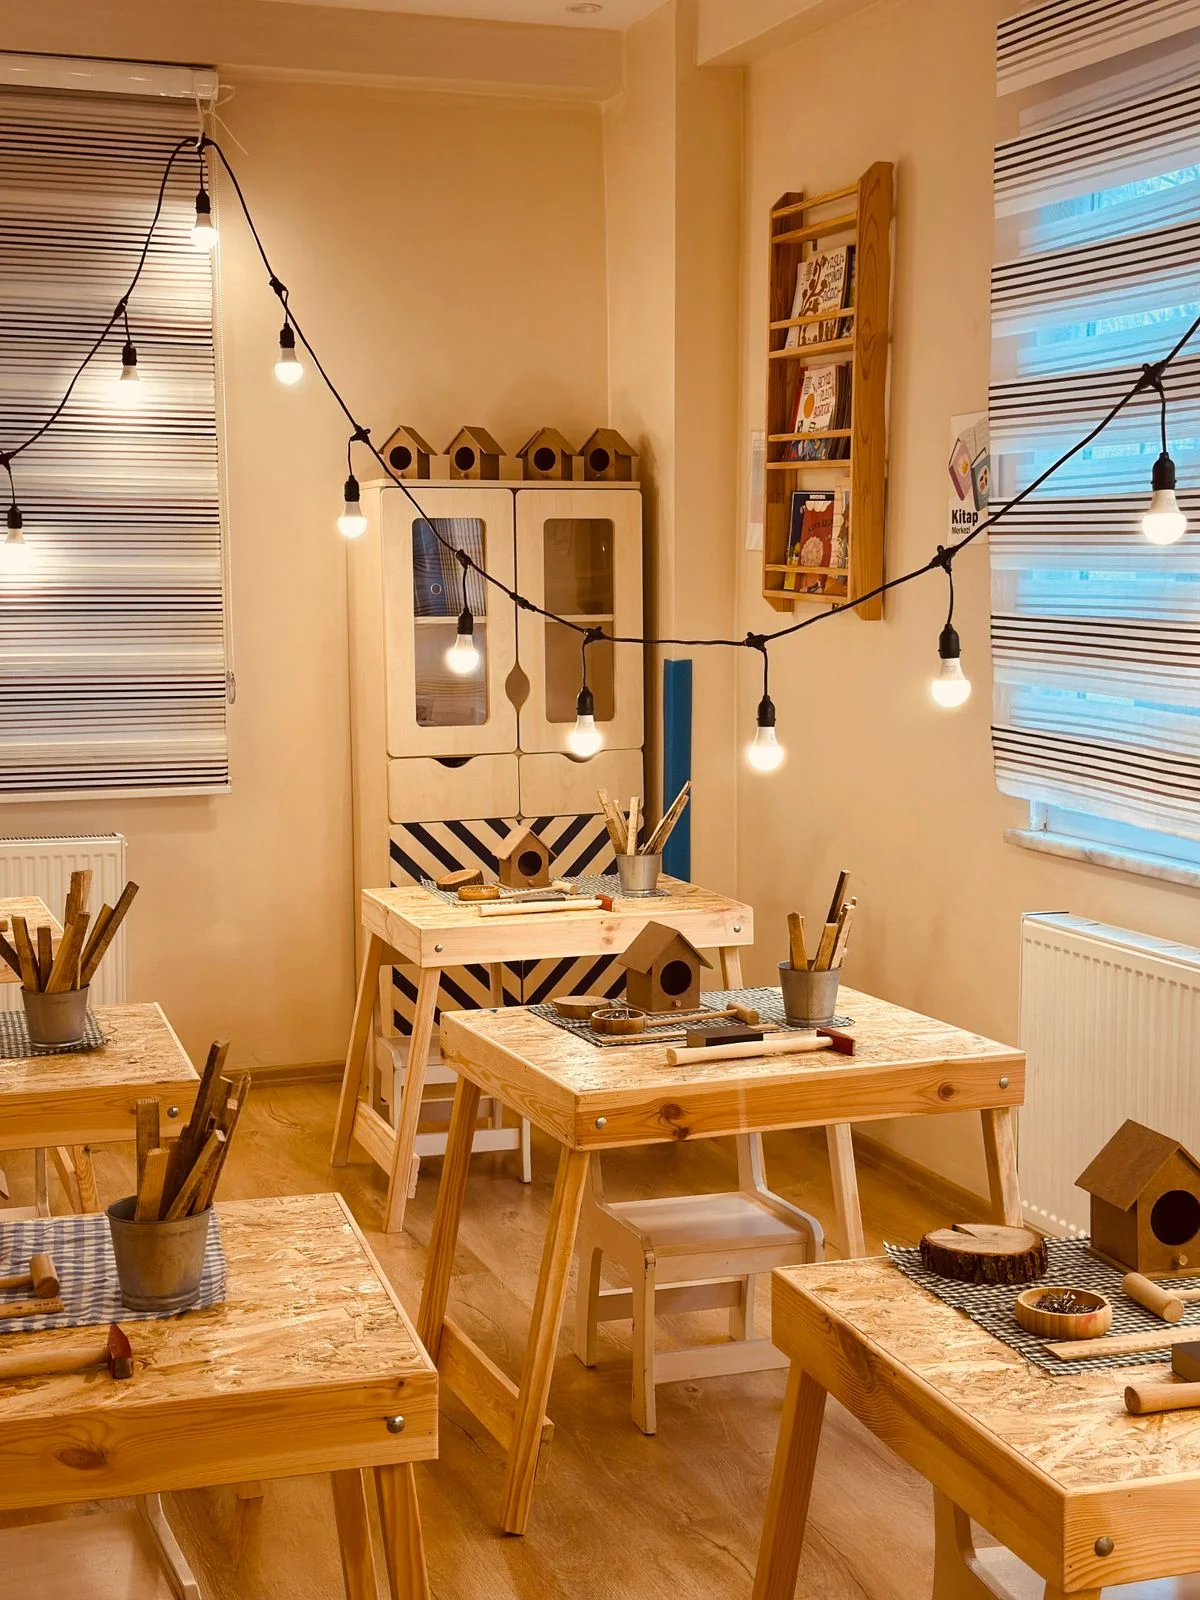
Put a warm lamp on the table, not an overhead, because evening crafting needs light at the work, not on the ceiling. An overhead light throws shadows across the hands and the work — the crafter’s own head blocks it, the thread disappears into shadow, and the eyes tire within an hour. A warm lamp on the table, low and close to the work, lights the stitches, the brush strokes and the cutting line directly, and the corner feels like a workshop instead of a room with a light on. The photo shows a woodworking classroom with string lights, wooden tables and small birdhouses — warm light at the work, not the ceiling, and the same idea in a bigger room.
Choose a warm bulb, around 2700K, because warm light reads as evening and cool white reads as an office — and a lamp with an adjustable arm lets the light follow the work instead of the work following the light. Keep the lamp on the side of the hand that does not hold the work, so the hand never casts a shadow over the stitches. One lamp, on the table, and the evening’s crafting is easy on the eyes. IKEA’s Lighting range has warm, adjustable lamps that suit a craft table.
Tip 5 — A small shelf above holds the current project, so the table holds only the work in hand
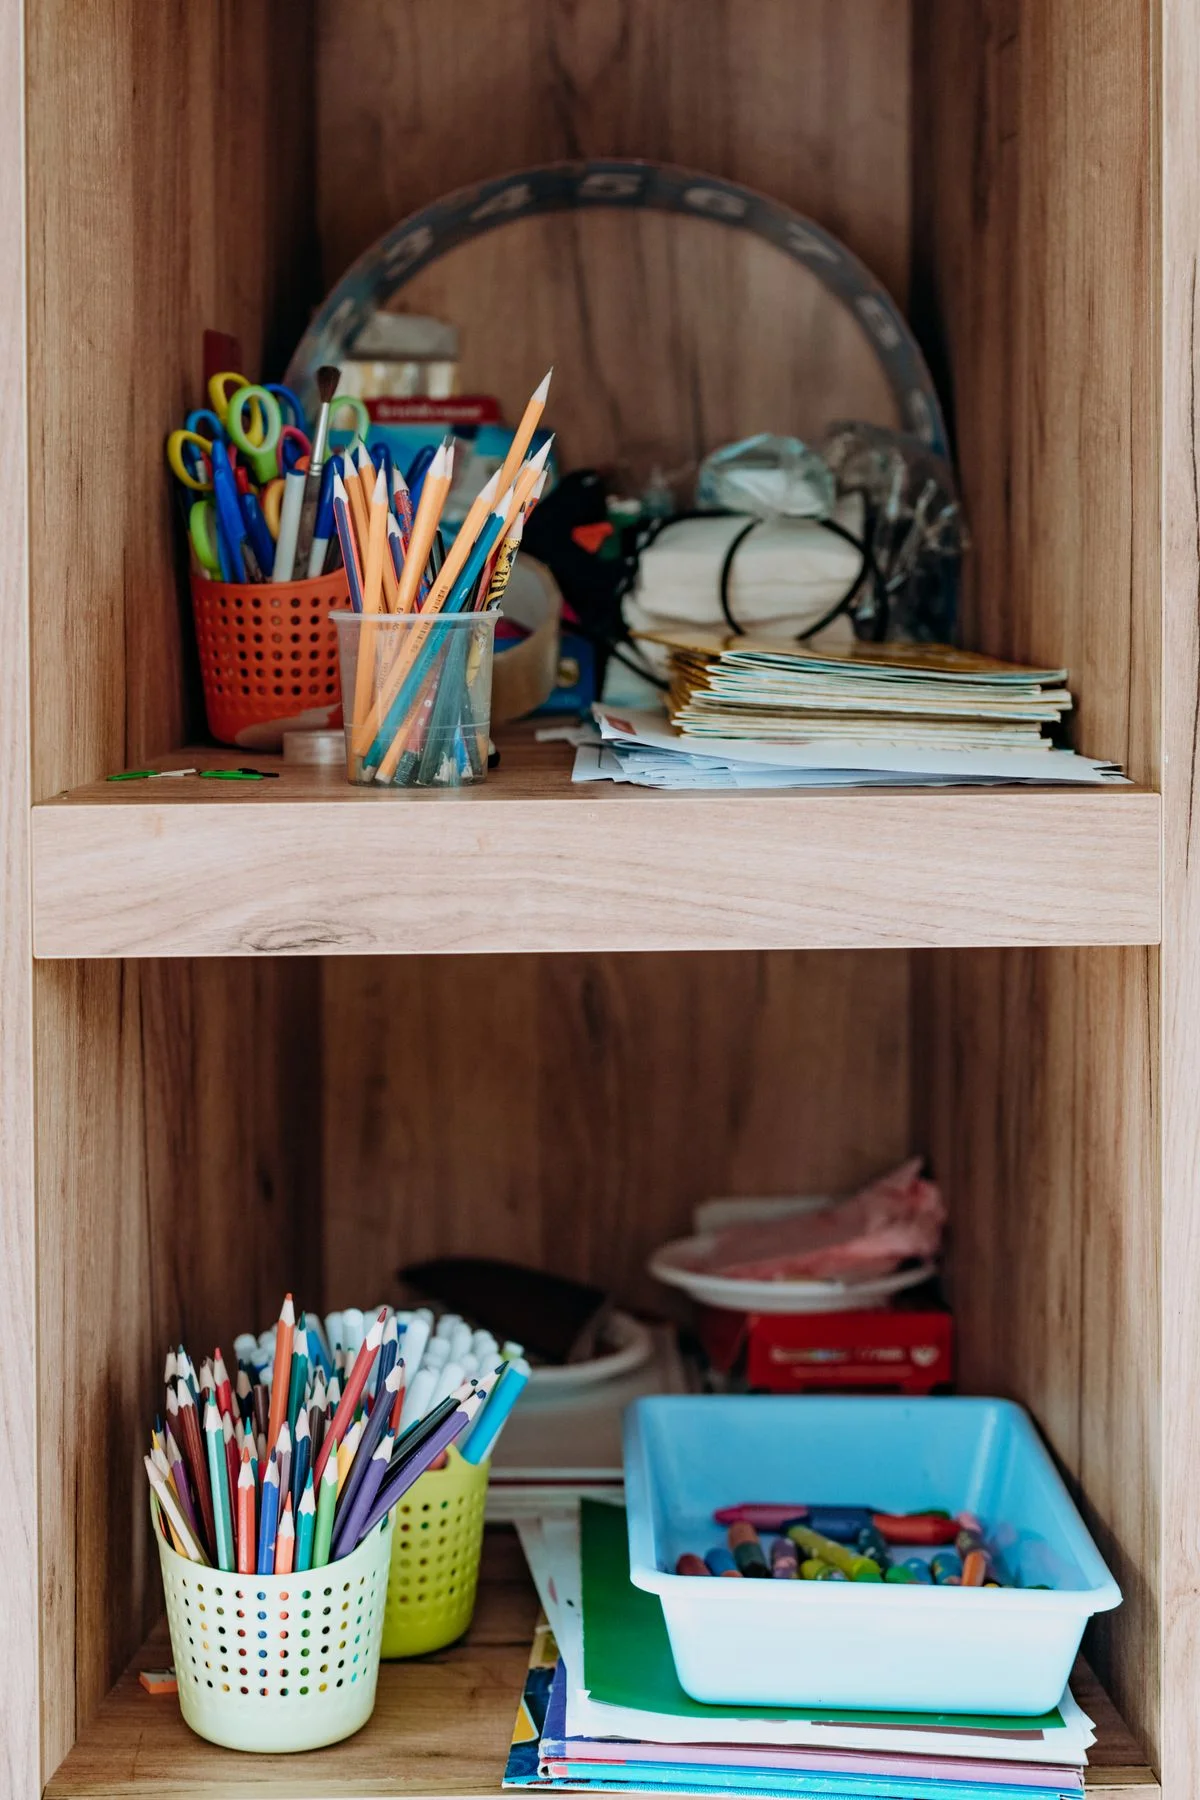
Put a small shelf above the table, and it holds the current project — so the table holds only the work in hand. A craft table collects projects: the knitting from last week, the painting from yesterday, the half-finished card from this morning, all of them spread across the table until there is no room to work. One small shelf above the table ends it: the current project lives on the shelf when it is not being worked on, and the table holds only the piece in hand, the tools in use and nothing else. The photo shows wooden shelf cubbies with art supplies — pencils, scissors, papers and a tray — a shelf above holding the supplies for the current project, exactly as it should be.
Keep the shelf shallow and within reach, so the project goes up and comes down in one movement, and keep it to one project — the shelf is for the current work, not for storing every unfinished thing in the house. The rest of the projects live in their baskets, out of sight, until their turn comes. One shelf, one project, and the table stays a workspace instead of a storage shelf.
Tip 6 — Keep the works-in-progress to one basket: two projects out means nothing finishes
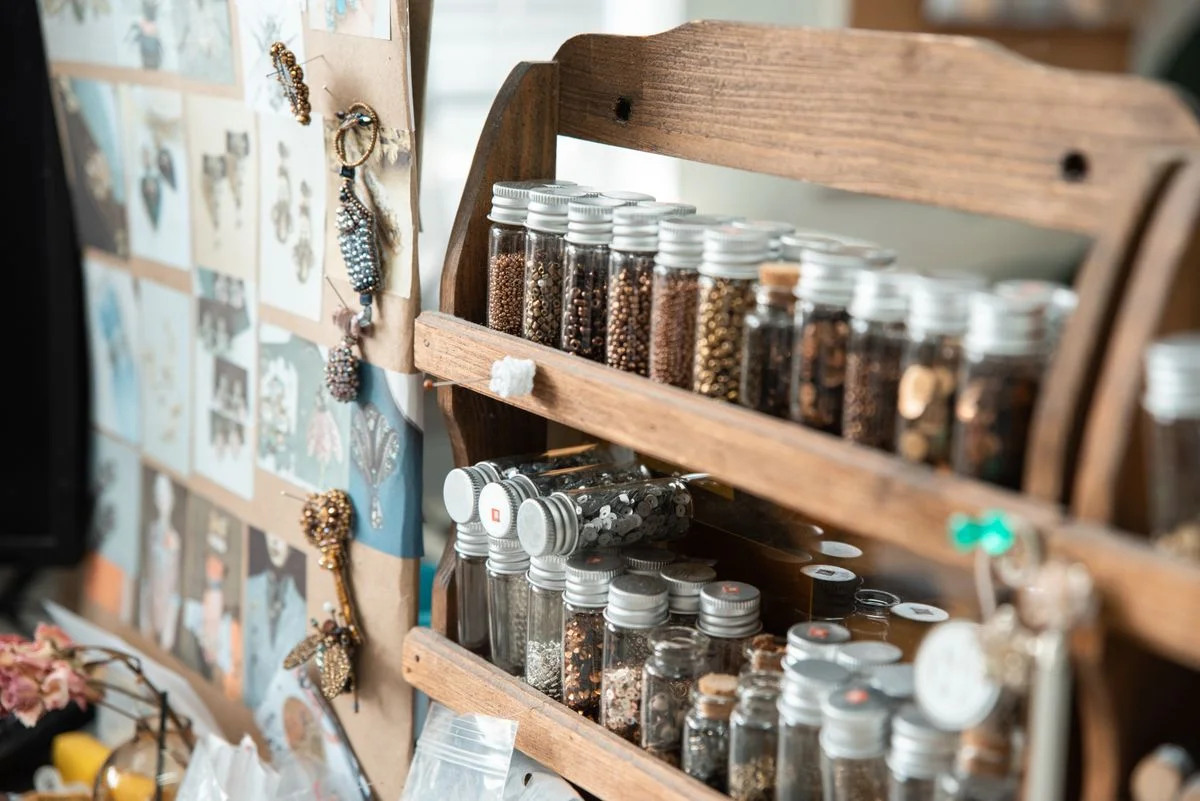
Keep the works-in-progress to one basket, because two projects out means nothing finishes. A craft corner with three half-finished projects on the table is a corner where nothing gets done: the knitting blocks the painting, the painting blocks the card, and the crafter spends the evening choosing instead of making. One basket for the work in progress — one project, in one basket, on the shelf — and the rule is simple: the basket empties before another project comes out. The photo shows a wooden rack of small jars of beads and sequins beside a moodboard — one project out at a time, the beads for the work in hand, and the rest stored.
When a project stalls, put it in the basket, close the basket, and start something else only if the basket is empty — the stalled project waits its turn instead of spreading across the table. And when a project finishes, the basket empties, the finished piece leaves the corner, and the next project begins with a clear table. One basket, one project, and the corner finishes things.
Tip 7 — A wipeable table top wins: paint, glue and tea all forgive a wipeable surface
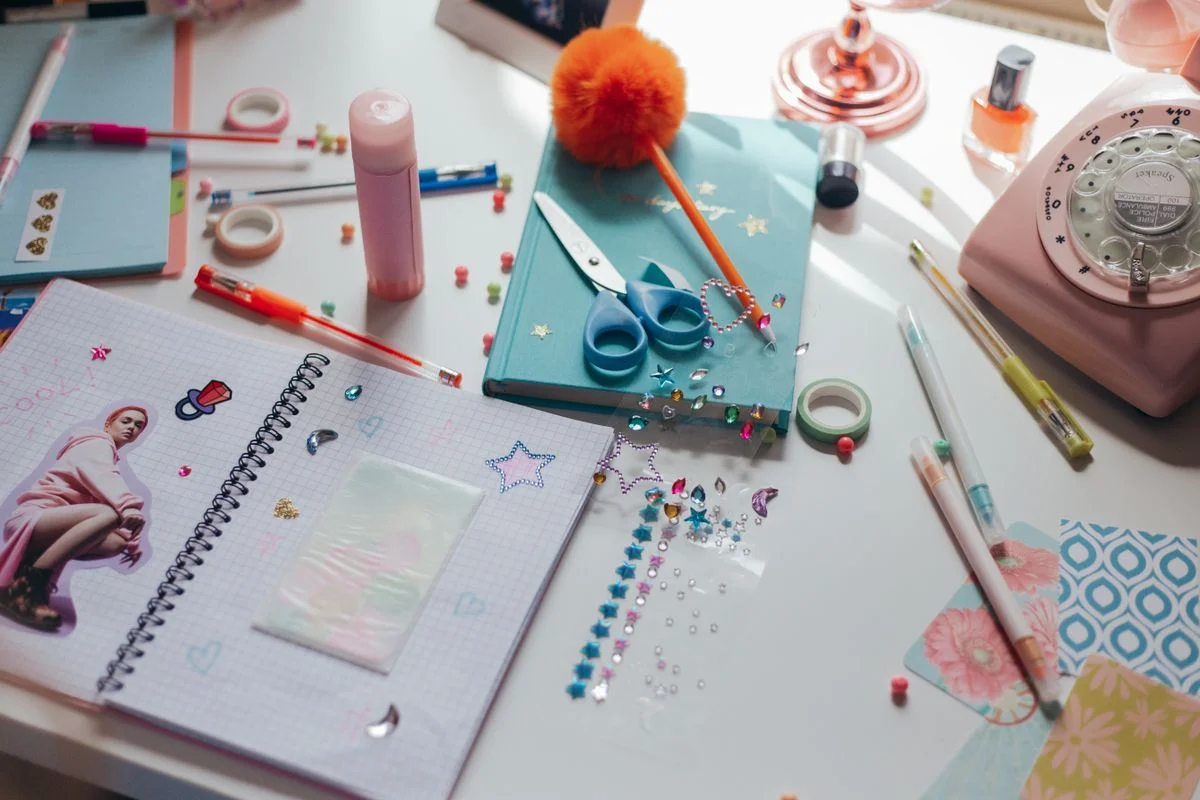
Choose a wipeable table top, because paint, glue and tea all forgive a wipeable surface. Crafting is messy by nature: paint drips, glue strings, a cup of tea tips, glitter goes everywhere — and a table top that cannot be wiped becomes a record of every accident, stained and sticky within a month. A wipeable top — laminate, sealed wood, a vinyl mat over the table — takes a damp cloth at the end of the evening and looks new again, and the crafter stops worrying about the table and starts enjoying the work. The photo shows a white desk scattered with craft supplies — scissors, tape, pens, stickers — and whether the surface wipes clean is not something a photo can prove, so check the finish before you buy.
If the table you love is not wipeable, lay a vinyl mat or a sheet of oilcloth over it while you work, and lift it off when the hobby rests — the table underneath stays clean, and the mat takes the mess. Keep a damp cloth on the pegboard, too, so the wipe is always within reach. Wipeable wins, and the table stays a table instead of a stain collection.
Tip 8 — A floor cushion or stool that tucks under keeps the corner small when it rests
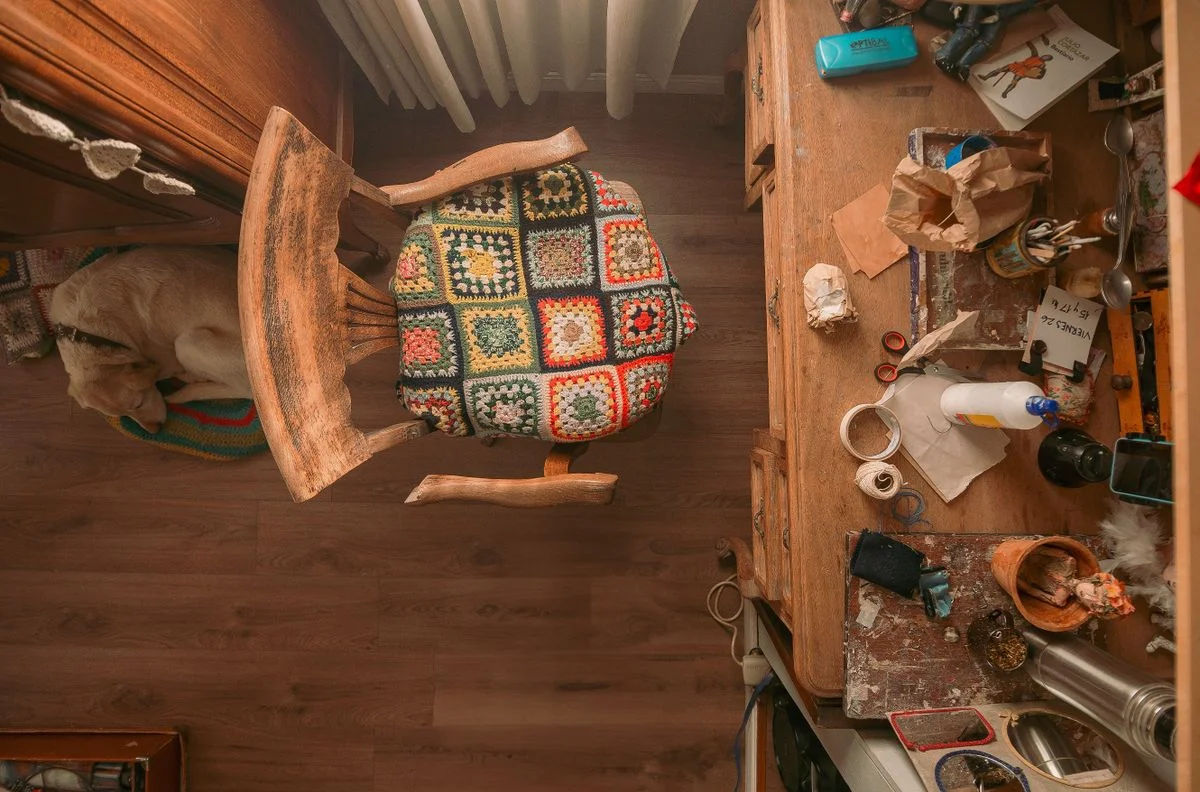
Choose a floor cushion or stool that tucks fully under the table, so the corner stays small when it rests. A craft corner with a chair that sticks out into the room is a corner that never rests — the chair blocks the walkway, catches every passer-by, and makes the corner feel like a room that has been taken over. A stool or a floor cushion that slides fully under the table disappears when the work ends: the table folds against the wall, the stool tucks under it, and the corner is a corner again. The photo is a top-down view of a craft room — a quilted chair, a cluttered desk, a sleeping dog — and the chair tucked fully under is not shown, but the small corner is the same idea.
Pick a stool with no back and no arms, because a backless stool slides under a table and a chair with a back does not. A floor cushion is the softest version: it stacks in the corner when the work ends, and it doubles as extra seating when guests visit. One stool, tucked under, and the corner rests as small as it works.
Tip 9 — Rotate supplies seasonally: winter knitting out, summer painting out, the rest stored
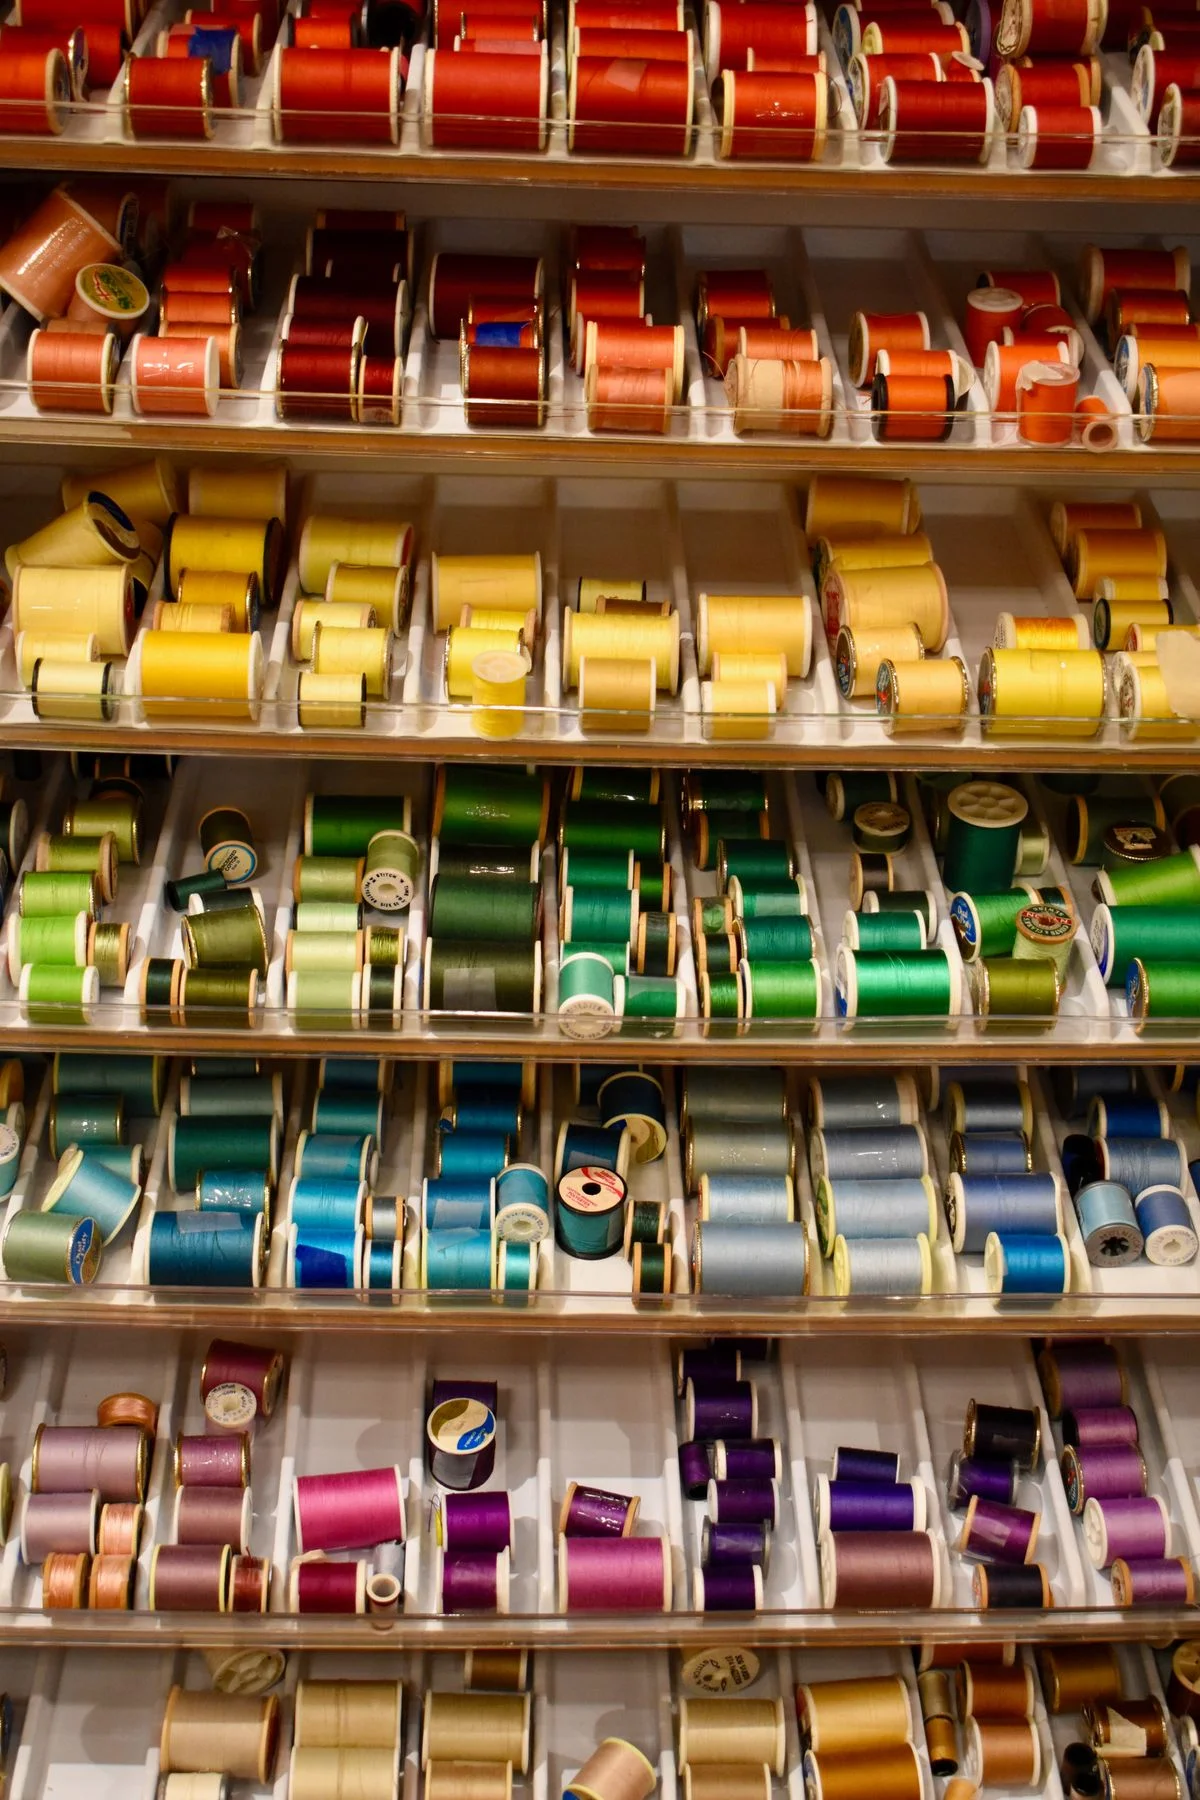
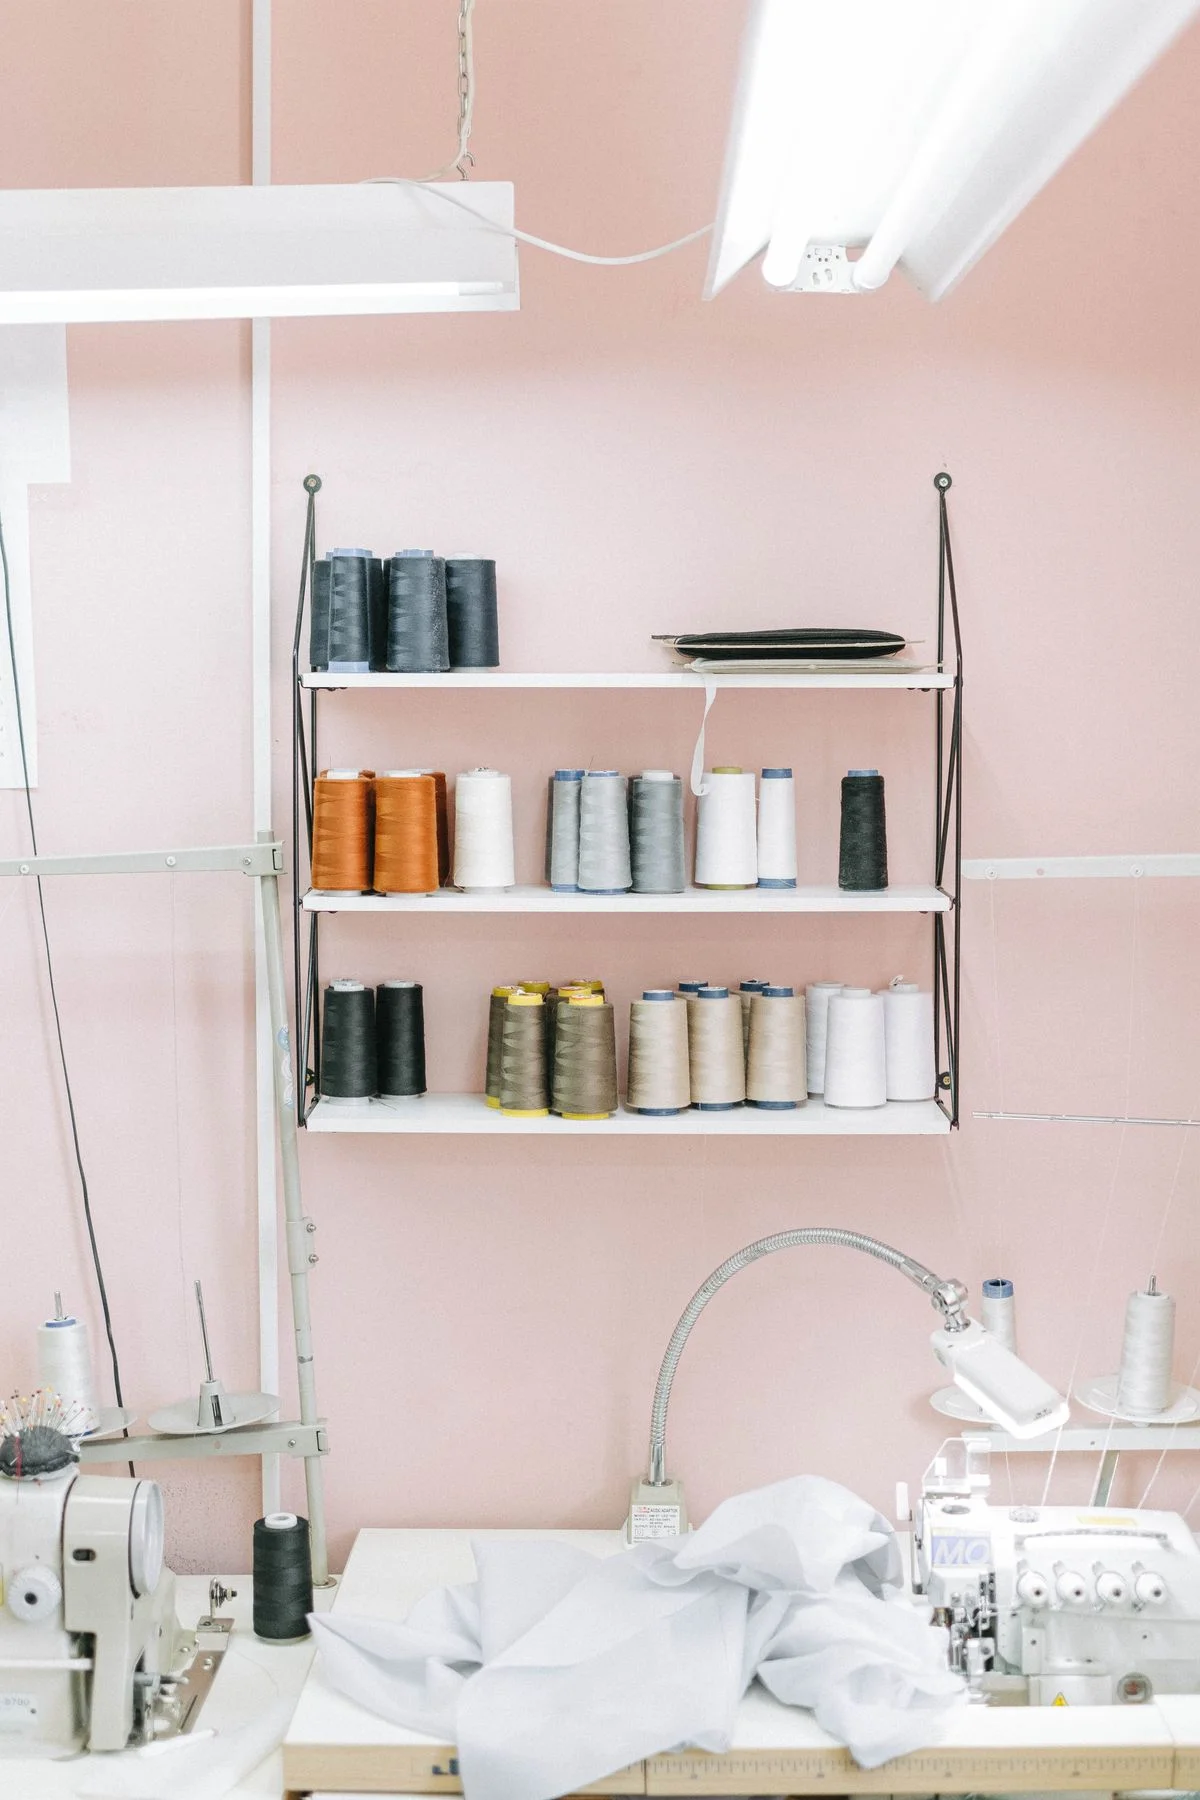
Rotate the supplies seasonally, because winter knitting comes out and summer painting comes out, and the rest stays stored. A craft corner that holds every supply for every season is a corner that holds nothing well: the yarn buries the paints, the paints bury the beads, and the crafter cannot find the one thing the season calls for. Four times a year, swap the baskets: winter knitting and crochet out in the cold months, summer painting and paper crafts out in the warm ones, and the rest of the supplies in labelled boxes on a high shelf or in a cupboard. The photo shows a wall of colourful thread spools arranged in rows — the seasonal rotation is a habit, not a scene, and the spools on display are the current season’s set.
Keep the rotation to one basket at a time, so the corner is never emptied and the work never stops: one basket out, one basket in, and the table stays usable through the swap. And when a season’s supplies come back out, check them first — dried paint, tangled yarn and blunt scissors all get fixed before the season starts, not halfway through it. Rotate with the seasons, and the corner always holds the hobby of the moment.
Tip 10 — A 5-minute reset: tools back on hooks, table wiped, basket closed
Do a five-minute reset at the end of every crafting session — tools back on hooks, table wiped, basket closed — and the corner is ready for tomorrow. Five minutes, no more: the scissors go back on the pegboard, the brushes go back in their jar, the table gets a wipe, the current project’s basket closes, and the stool tucks under. The corner is tidy before the evening ends, the next session starts with a clear table instead of yesterday’s mess, and the hobby stays a pleasure instead of becoming a chore. The photo shows a sewing studio with shelves of thread, sewing machines, white fabric and lamps — a tidy craft corner after the reset, with every tool in its place.
Keep the reset to five minutes, because a reset that takes twenty minutes will not happen — and the five minutes that do happen every evening beat the hour that never happens on a Sunday. Put the cloth and the brush beside the table, so the reset needs no trip to another room. Five minutes, every session, and the craft corner stays a corner that works.
Frequently Asked Questions
How much space do I need for a craft corner?
A corner, not a room — one small table, a pegboard on the wall, and baskets beside it. A fold-down table folds to about four to six inches deep when closed, so the corner is a corner again when the hobby rests, and a stool that tucks fully under keeps it small.
How do I store craft supplies in a small space?
One basket per supply — yarn in one, paints in one, tools in one — labelled, on a shelf above the table or on the floor beside it. A pegboard on the wall holds the tools hands reach for most, and the table stays clear for the work itself.
What is the best light for a craft corner?
A warm lamp on the table, not an overhead — around 2700K, with an adjustable arm so the light follows the work. An overhead throws shadows across the hands, while a lamp at the work lights the stitches, brush strokes and cutting line directly.
How much does a small craft corner cost?
A fold-down table and a pegboard cost under $75 and take an afternoon to fit. The baskets, the lamp and the stool are the rest, and most crafters already own them — the corner is a cheap afternoon build, not a renovation.
How do I stop craft supplies taking over the house?
Keep the works-in-progress to one basket — two projects out means nothing finishes — and rotate supplies seasonally: winter knitting out, summer painting out, the rest stored in labelled boxes. One current project on the shelf, the rest in their baskets.
How do I keep a craft corner tidy?
A five-minute reset at the end of every session — tools back on hooks, table wiped, basket closed, stool tucked under. Five minutes every evening beats an hour that never happens on a Sunday, and the next session starts with a clear table.
Final Thoughts
Small craft corner ideas for a hobby nook work when the corner is a hobby zone, not a storage corner: a small table that folds against the wall when the hobby rests, one basket per supply so nothing mixes, a pegboard on the wall holding the tools where hands can reach them, and a warm lamp on the table for evening crafting. A small shelf above holds the current project so the table holds only the work in hand, the works-in-progress stay to one basket so something actually finishes, and a wipeable table top forgives the paint, the glue and the tea. A stool that tucks fully under keeps the corner small when it rests, supplies rotate with the seasons, and a five-minute reset — tools back on hooks, table wiped, basket closed — closes every session. A fold-down table and a pegboard cost under $75 and take an afternoon, and the hobby gets a home that disappears when the work is done.
Save this post on Pinterest for your next craft evening, and read our earlier work, desk and storage ideas next: Cozy Corner Ideas For Working From Home In Flats, Small Corner Desk Ideas For A Home Office, Small Space Storage Ideas That Use Every Wall, Renter-Friendly DIY Projects For Apartments, and Small Corner Storage Ideas With Floating Shelves.
Written from small-room living experience — every idea here is practical for a tiny home, with a no-drill option wherever drilling is a problem.
Last updated 19 Nov 2026. Refresh in 3–6 months: rotate the supplies for the new season, re-check the pegboard hooks, and wipe the table top.
Further reading: How to Add a Home Office or Craft Space Anywhere
Further reading: 12 Amazing Craft Room Organization Ideas



2 Comments