
Small Kitchen Appliance Ideas That Earn Their Space
Small kitchen appliance ideas that earn their space start with one simple rule: every appliance in a tiny kitchen pays rent in counter space, and the rent is high. A kettle, a toaster, a coffee machine, a blender, an air fryer — each one takes a slice of the counter, and a tiny kitchen has only a few slices to give. The appliances that stay are the ones that are used every day, or the ones that do three jobs instead of one. The rest go into a cupboard, or out of the kitchen entirely.
The ideas below are built in that order: the one-in-one-out rule first, then where each appliance lives, then how to buy the next one. Measure before you buy, test before you keep, and cap the counter at two or three appliances — and the kitchen stays a place to cook in, not a showroom.

Key Takeaways
- One in, one out: every new appliance means an old one leaves, or the counter fills up and the kitchen stops working.
- Daily-use appliances stay out; weekly-use appliances live in a cupboard. If you reach for it every morning, it earns the counter.
- Multi-use wins: a hand blender that blends, whisks and chops beats three single-use gadgets in a tiny kitchen.
- Measure the shelf before you buy, give every new appliance a 30-day test, and cap the counter at two or three appliances.
Tip 1 — One-in-one-out
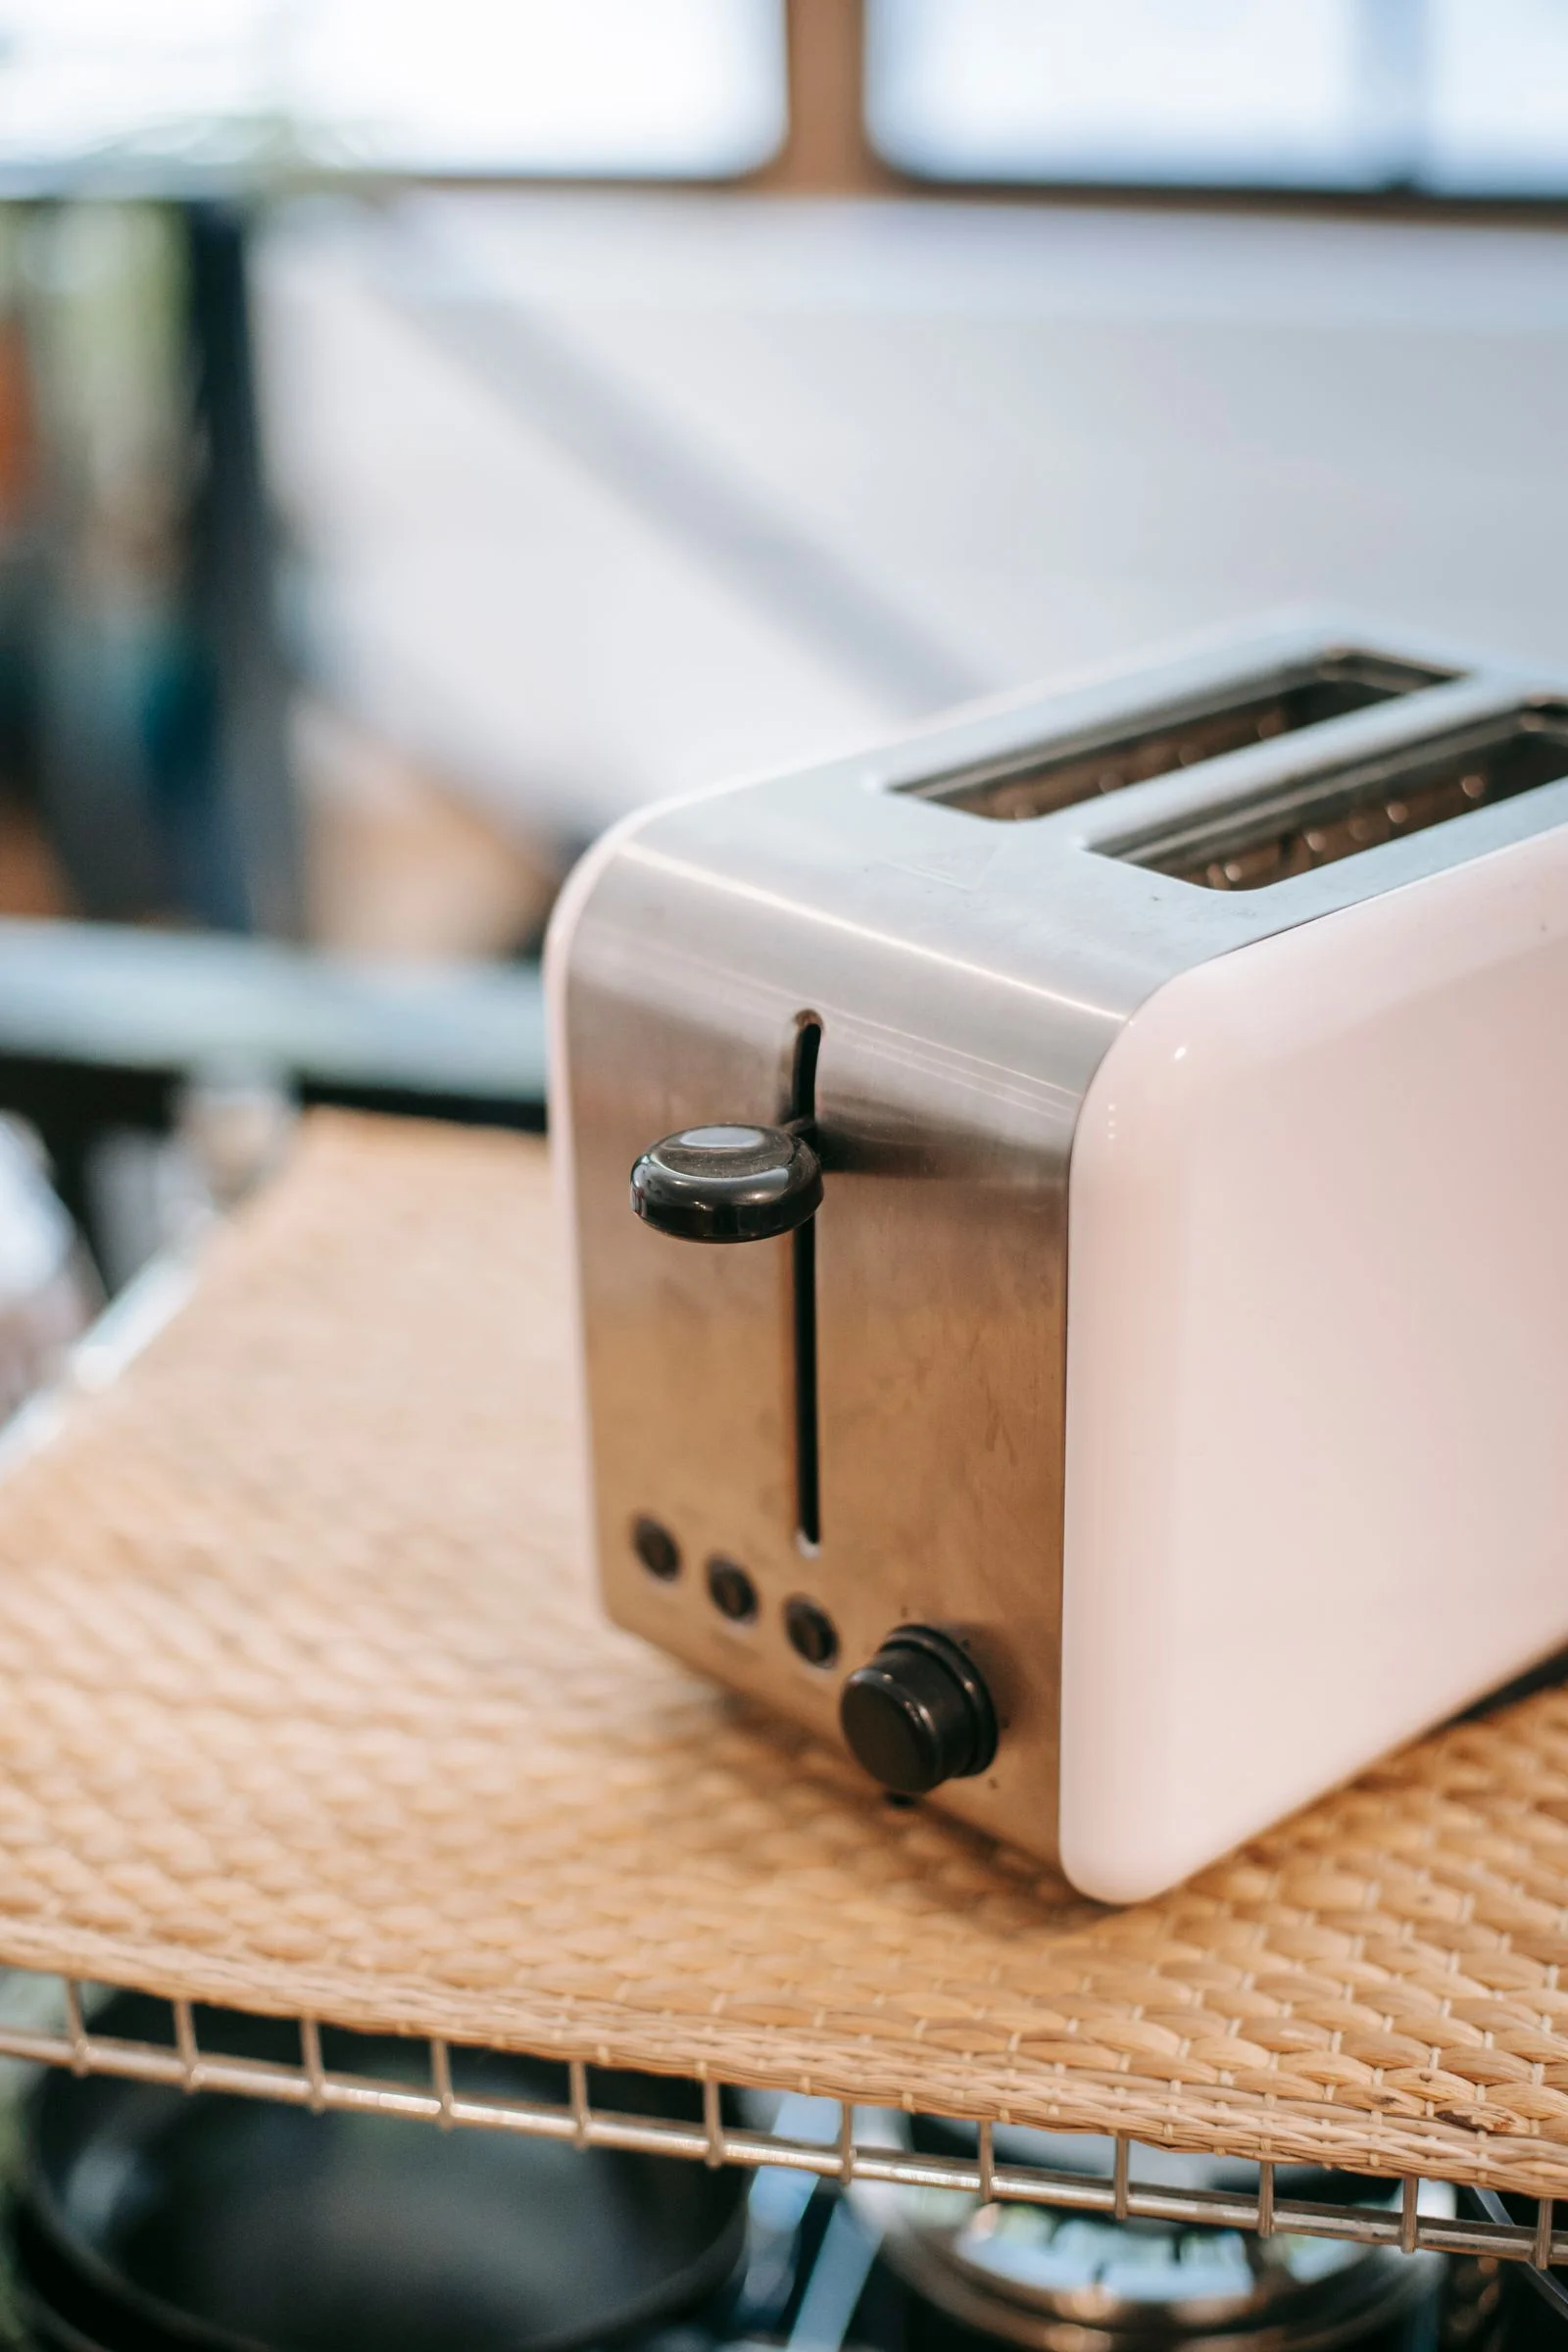
One-in-one-out is the rule that stops a tiny kitchen filling up with gadgets: every new appliance that comes in means an old one goes out. Buy a new toaster, and the old toaster leaves — sold, given away, or stored somewhere that is not the kitchen. The photo shows a single stainless steel toaster on a woven mat in a bright kitchen: one appliance, in its place, earning its space — the rule in action, one gadget doing its job instead of four crowding the counter.
Make the rule before you buy, not after: decide what leaves before the new appliance arrives, so the old one is already boxed when the new one comes through the door. No rule, and the kitchen gains one gadget a month until there is no counter left to cook on. One in, one out, every time, no exceptions — that is the whole system.
Tip 2 — Daily-use out, weekly stored
Daily-use appliances stay out; weekly-use appliances live in a cupboard. The kettle and the coffee machine you use every morning earn their place on the counter, because putting them away every day would cost more time than the counter space is worth. The blender you use once a week does not — it lives on a shelf and comes out on the day it is needed. The photo shows a black coffee maker and kettle on a dark kitchen counter, the daily-use pair, out and ready for the morning.
Be honest about “daily”: an appliance used three times a week is weekly, not daily, and it belongs in the cupboard. Give the stored appliances one shelf each, with their cords wrapped and their lids on, so they come out ready to use instead of tangled and dusty. The counter keeps only the morning pair, and the kitchen stays clear.

Tip 3 — Multi-use wins (hand blender)
In a tiny kitchen, multi-use wins: one appliance that does three jobs beats three appliances that do one job each. A hand blender blends soup, whisks cream, and chops herbs with a change of attachment — one stick, one drawer, three jobs done. The photo shows a chef blending soup with a hand blender in a modern kitchen, the one tool doing the work of a full-size blender without taking a cupboard to itself.
Judge every new gadget by how many jobs it does: a hand blender is three jobs in one stick; a stand mixer is one job in one large box. In a tiny kitchen, the stand mixer has to be used weekly to earn its shelf, while the hand blender earns its drawer on day one. Buy the tool that does the most, and let the single-use gadgets go.

Tip 4 — Measure the shelf before buying
Measure the shelf before buying, and the appliance fits the first time. A tape measure, thirty seconds, and three numbers — width, depth, height — and you know whether the new air fryer fits the shelf, clears the cupboard door, and leaves room for the plug. The photo shows a close-up of a yellow measuring tape: the tape measure only, no shelf in frame, because the measuring is the job — the shelf is wherever the appliance has to live.
Measure the space the appliance will actually live in, not the counter: the shelf height with the door closed, the depth with the cord plugged in, and the width with the lid open if the lid opens upwards. An appliance that is two centimetres too tall for its shelf lives on the counter forever, and a tiny kitchen cannot afford that. Measure first, buy second.

Tip 5 — Cord wrap + one plug strip
Tidy cords and one plug strip keep a tiny kitchen safe and calm: wrap each appliance cord around its own wrap or a velcro tie, and plug everything into a single strip with a switch, so one flick turns the counter off at night. The photo shows a cream kettle and utensils on a grey stone kitchen counter — a tidy counter with one appliance in place and nothing tangled, which is exactly what a wrapped cord and a single plug strip give you.
Keep the cords short: a cord that dangles over the counter edge is a pull waiting to happen, and a cord that pools behind the appliance collects grease and dust. One plug strip, fixed to the wall or the back of the counter, with a switch you can reach — and unplug the appliances you only use weekly, so the strip is never carrying five gadgets at once.

Tip 6 — Air fryer / slow cooker only if used weekly
An air fryer or a slow cooker only earns its space if it is used weekly — otherwise it is a large box holding a small amount of counter hostage. Both are good appliances: the air fryer crisps without the oven, the slow cooker cooks dinner while you are out. But both are bulky, and a bulky appliance used once a month is a bulky appliance in the way for thirty days. The photo shows a black air fryer and a white toaster on a counter with fresh cookies, the air fryer in use as part of a real baking session.
Count the uses before you buy, not after: if you will air-fry twice a week, buy it; if you will air-fry twice a month, borrow one first or use the oven. The same test applies to the slow cooker — a weekly stew earns the shelf, a monthly one does not. Weekly use is the line, and the line does not move.

Tip 7 — Bulky items up high, one shelf
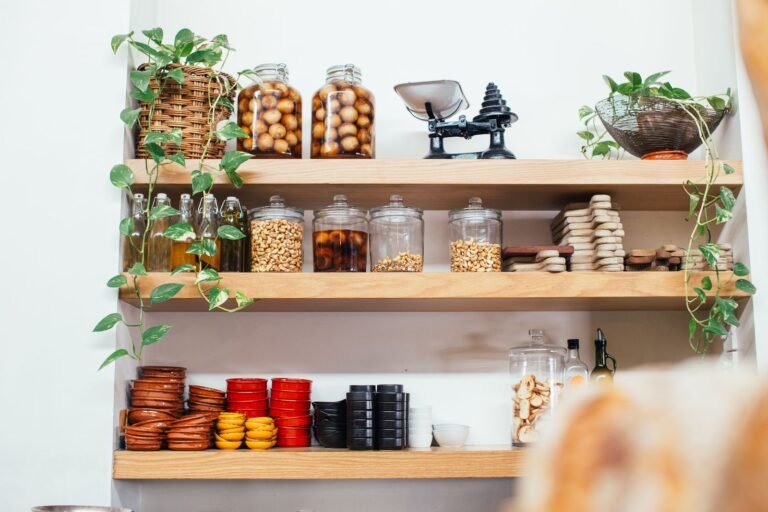
Bulky items go up high, on one shelf, where they are out of the way but still reachable. The slow cooker, the food processor, the big stockpot — they live on the top shelf or the open shelves above the kitchenette, in one place, so the counter stays clear and the cupboards stay for the everyday things. The photo shows open wooden shelves with dishes and glasses above a small kitchenette: open shelves holding the things that live up high, in one place and easy to reach.
Keep the bulky shelf to one shelf only, and keep the heaviest items at the front where you can reach them without climbing. A step stool kept by the fridge makes the high shelf usable instead of forgotten — and if you need the stool every time, the appliance is too high and belongs one shelf down. Up high, one shelf, and the counter stays yours.

Tip 8 — 30-day test
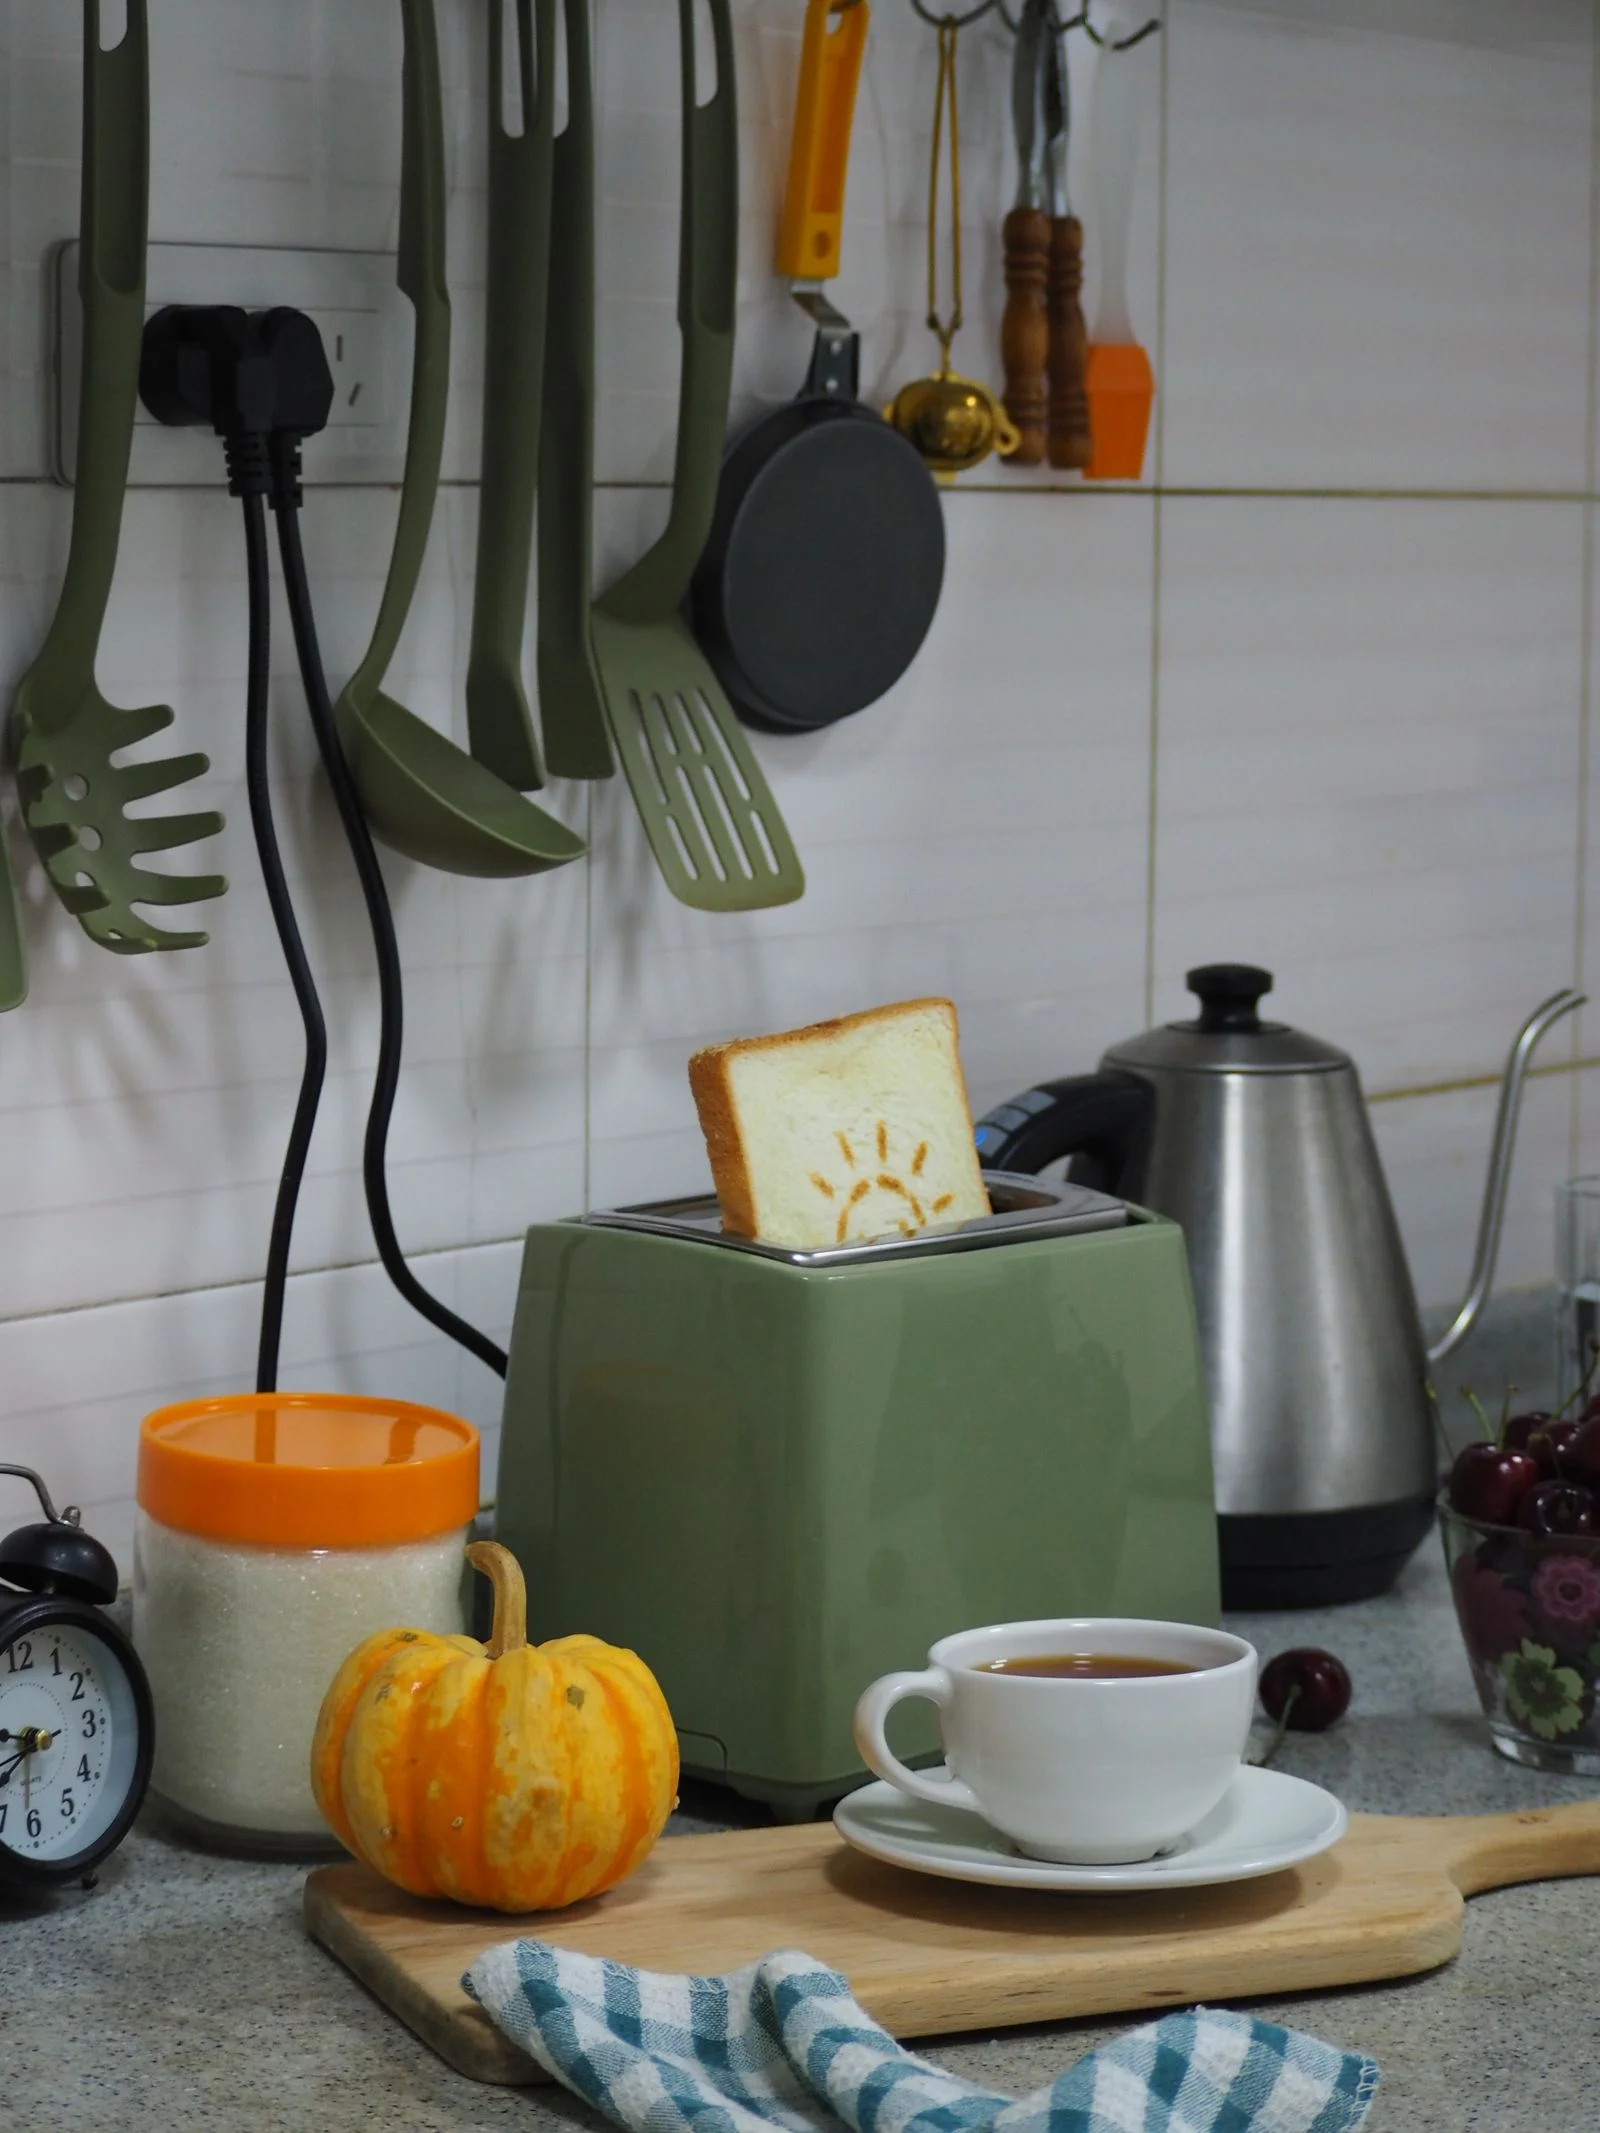
Give every new appliance a 30-day test before it earns a permanent home: use it for a month, count the uses, and keep it only if it was used at least four times. A new gadget is exciting for a week and forgotten by week three — the 30-day test catches that before the appliance takes a shelf for a year. The photo shows a green toaster with toast and a cup of tea on a kitchen counter, a toaster in daily morning use — the kind of appliance that passes the test in its first week.
Put the new appliance on the counter for the test month, not in a cupboard, so you can see whether you reach for it. At day thirty, be honest: four uses or more, it stays; fewer, it goes — sold, given away, or returned if the shop allows it. The test is the only way to know whether the appliance is a habit or a novelty.
Tip 9 — Buy compact
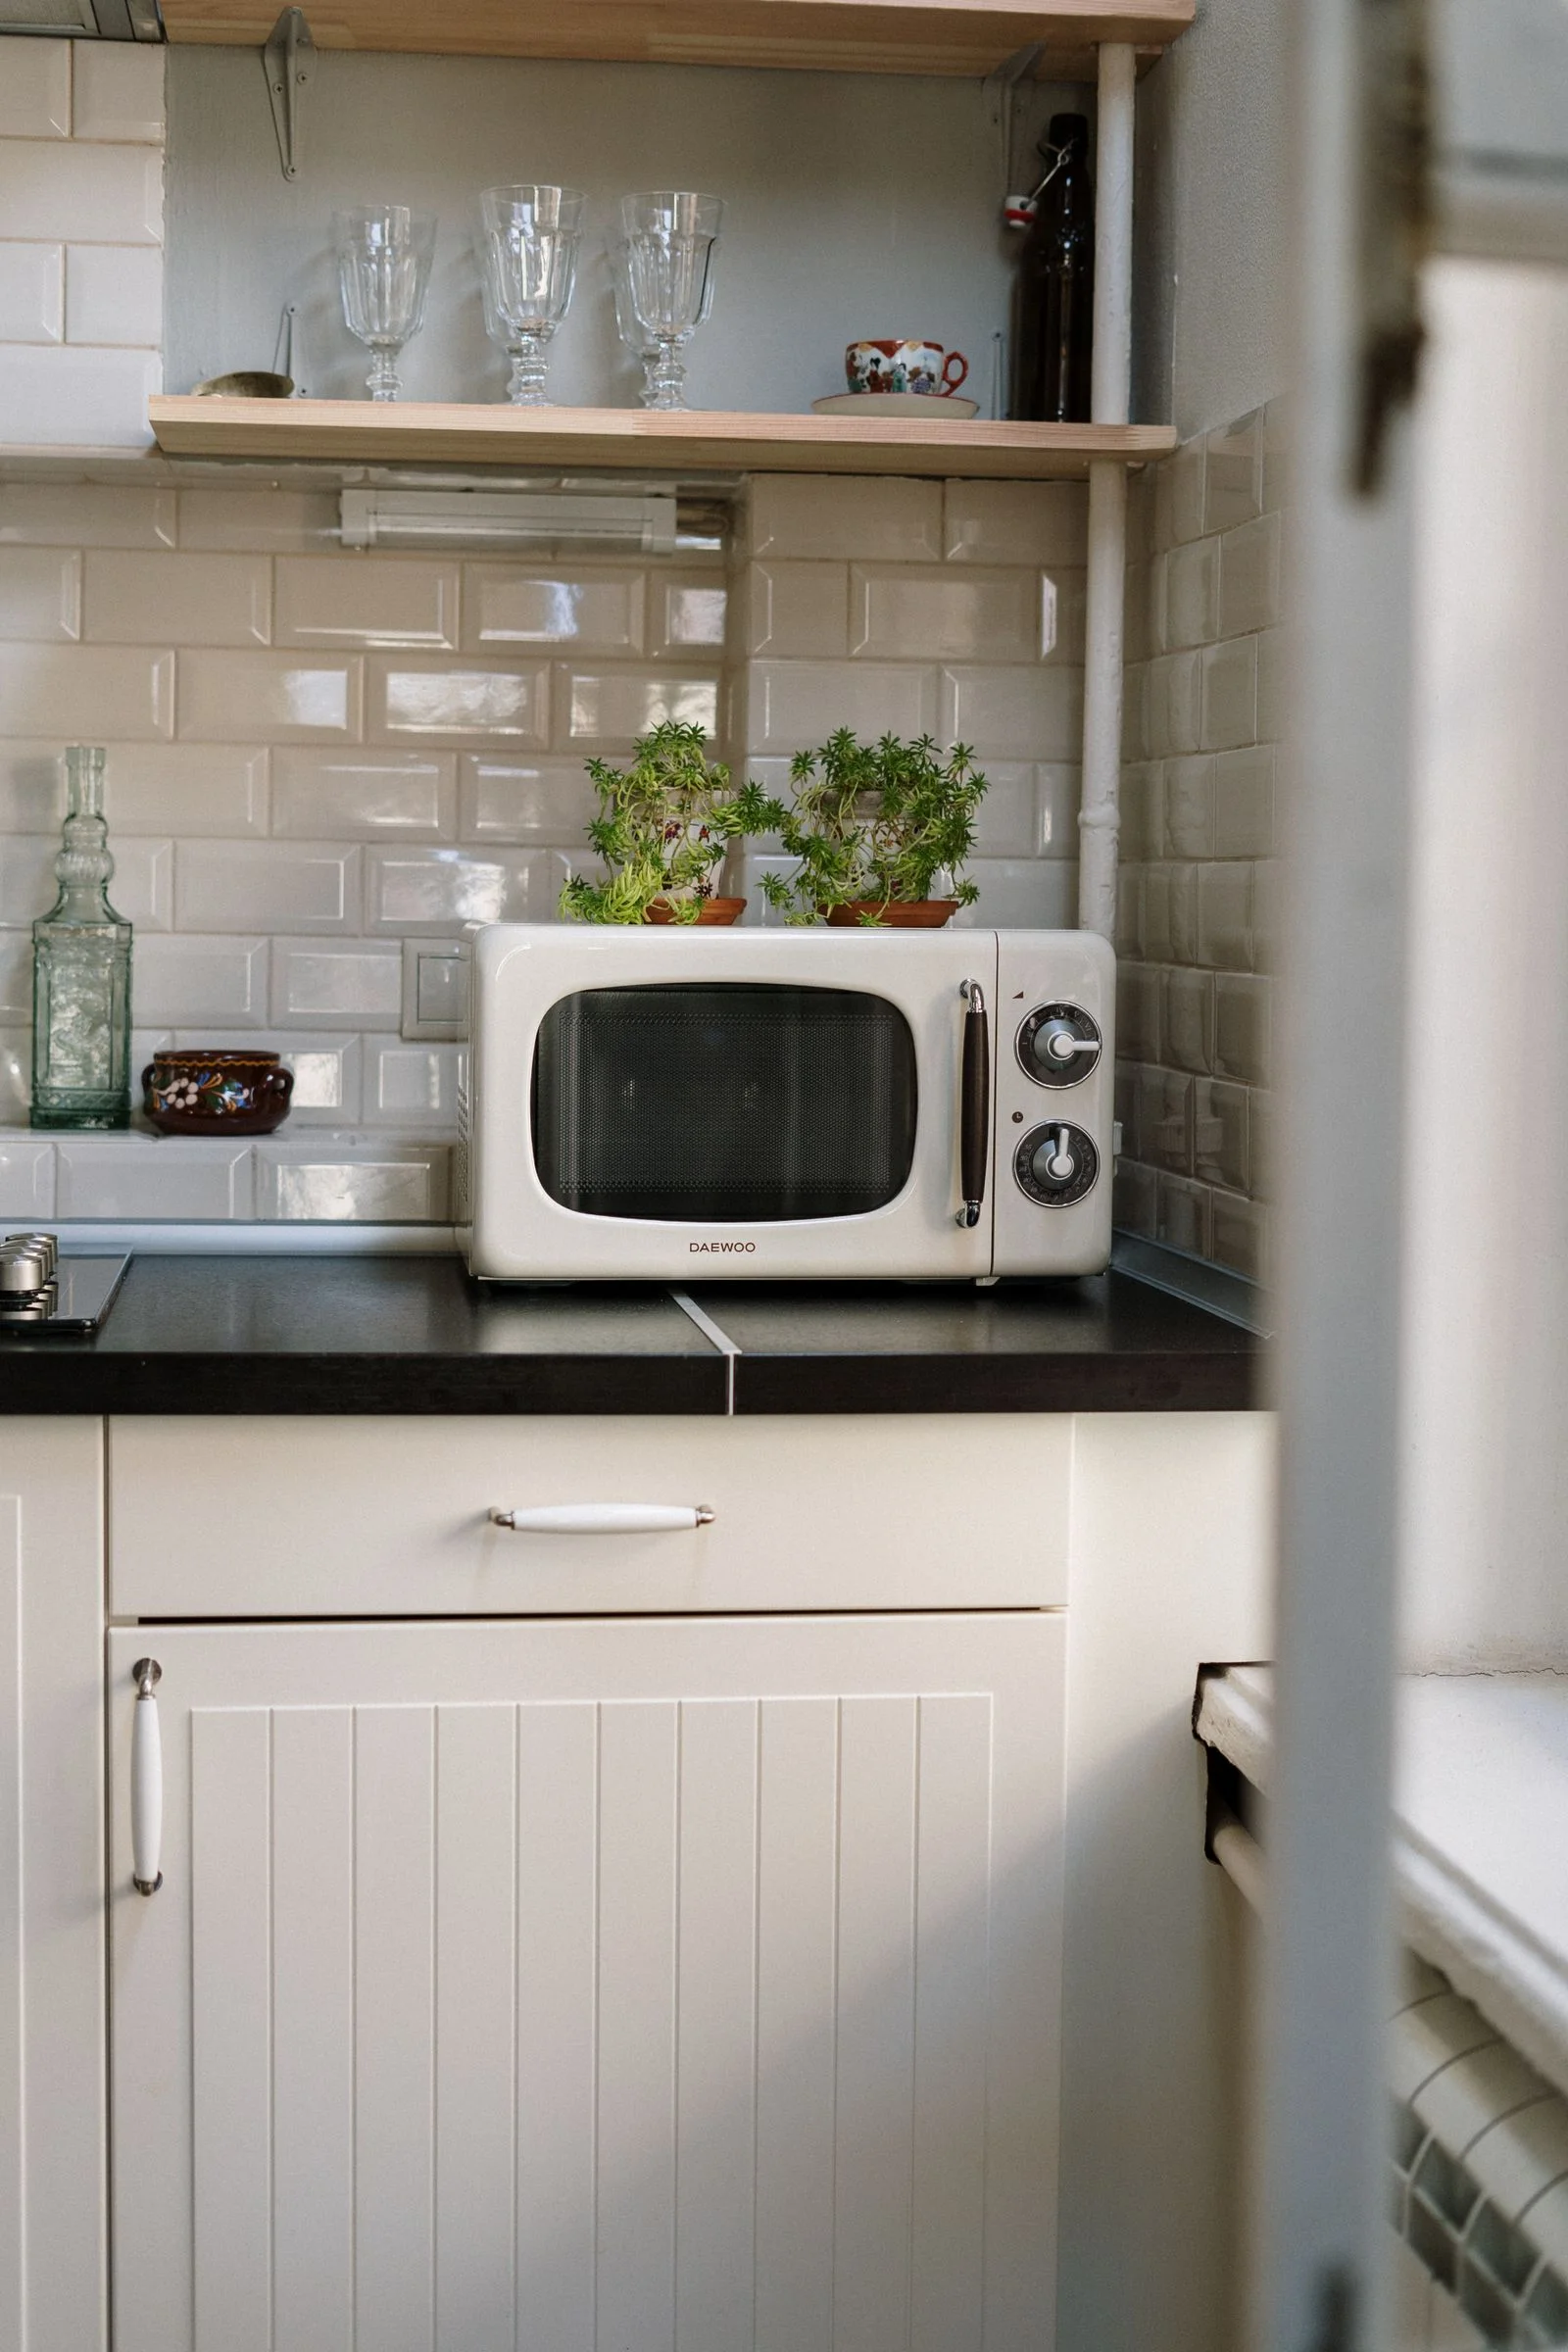
Buy compact, and the appliance fits the kitchen you have instead of the kitchen you wish you had. A compact microwave, a single-serve coffee maker, a slim kettle — each one does the same job as the full-size version in half the footprint, and in a tiny kitchen half the footprint is the difference between a clear counter and a crowded one. The photo shows a compact white vintage microwave in a cozy retro kitchen, small enough to sit on a shelf without dominating the room.
Check the capacity as well as the size: a compact appliance that is too small for the household is a false saving. One compact microwave that fits the family dinner plate is a win; one that cannot fit the plate is a daily annoyance. Compact means the right size for the room and the household, not the smallest size on the shelf.
Tip 10 — Counter max 2–3 appliances
Cap the counter at two or three appliances, and the kitchen stays a place to cook in. Three is the most a tiny counter can carry — a kettle, a toaster, a coffee machine — and still leave room to chop, to plate, and to put a hot pan down. The photo shows a top view of a kitchen counter with a microwave, a coffee machine and a kettle: three appliances, and the counter still has room to work.
Count what is out right now: if there are five appliances on the counter, two of them belong in a cupboard. The cap is a hard rule, not a guideline — every appliance over three is an appliance that is costing you cooking space. Two or three out, the rest stored, and the counter is yours again.

Final Thoughts
Small kitchen appliance ideas that earn their space work when every appliance pays its rent: one in, one out, daily-use out and weekly stored, and multi-use tools that do three jobs instead of one. Measure the shelf before you buy, tidy the cords onto one plug strip, and give every new appliance a 30-day test. Buy compact, keep the bulky items up high on one shelf, and cap the counter at two or three. The kitchen does not get bigger — it just keeps the appliances that earn their place, and the counter stays a place to cook.
How many appliances should a small kitchen have on the counter?
Two or three at most: the kettle, the toaster and the coffee machine, or whichever three you use every day. Every appliance over three is costing you cooking space — store the rest and bring them out on the day they are needed.
What is the one-in-one-out rule for kitchens?
Every new appliance that comes in means an old one goes out. Decide what leaves before the new appliance arrives, so the counter never fills up one gadget at a time. Buy a new toaster and the old toaster leaves — sold, given away, or stored somewhere that is not the kitchen.
Which appliances are worth it in a tiny kitchen?
The ones you use daily, and the ones that do several jobs: a kettle, a coffee maker, and a hand blender that blends, whisks and chops. Single-use gadgets and bulky appliances used once a month rarely earn their space, because one appliance that does three jobs beats three appliances that do one job each.
Should I buy an air fryer for a small kitchen?
Only if you will use it weekly. Count the uses before you buy: twice a week earns the shelf, twice a month does not. A compact air fryer that is used weekly is a win; a full-size one used monthly is a large box in the way.
How do I store appliances I only use weekly?
On one shelf, with their cords wrapped and their lids on, so they come out ready to use. Bulky items go up high on one shelf, and daily-use appliances stay on the counter. Keep the bulky shelf to one shelf only, with the heaviest items at the front where you can reach them easily.
How do I know if a new appliance is worth keeping?
Give it a 30-day test: use it for a month and count the uses. Four uses or more and it stays; fewer and it goes. The test catches the novelty gadgets before they take a shelf for a year. Put it on the counter for the test month, not in a cupboard, so you can see whether you reach for it.
Save this post on Pinterest for your next kitchen refresh, and read our earlier small kitchen ideas next: Small Kitchen Cooking Ideas For Tiny Kitchens, Small Kitchen Storage Ideas That Save Every Inch, Small Kitchen Pantry Ideas Without A Pantry Room, and Small Kitchen Counter Ideas That Stay Clear Daily.
Written from small-room living experience — every idea here is practical for a tiny kitchen, with a no-drill option wherever drilling is a problem.
Last updated 16 Nov 2026. Refresh in 3–6 months: re-run the 30-day test on any appliance that has gone unused, and re-check the plug strip and cord wraps.




One Comment